The DALL-E API from OpenAI is a very powerful image generation tool. However one limitation is that it only outputs square images. In this tutorial we will learn how to generate images of arbitrary dimension such as portraits and landscapes. This tutorial also covers the basics of using DALL-E via the openai library in Python. To follow along make sure you have an account for using the OpenAI API.
import matplotlib.pyplot as plt
import numpy as np
from PIL import Image
from skimage.util import montage
import requests
import os
import openai

from io import BytesIO


openai.api_key = "YOUR_API_KEY"
Here are the key details
- There are three endpoints,
generations,variatonsandedits generationslets you create images based on a prompt.editsallows you to input a mask and modify a section of the imagevariationscreates different variations of the input image- You can create up to 10 images at a time and it can be helpful to generate multiple images to choose the best ones.
- Images will be square and available sizes are
256 x 256,512 x 512,1024 x 1024, with cost increasing with size.
Portraits
To get started let us create a generate a few images based on a prompt. John Singer Sargent was a portrait painter in the late 19th and early 20th century famous for his glamorous high-society portraits. Here for instance is his famous painting of fashionable hostess Mrs Hugh Hammersley
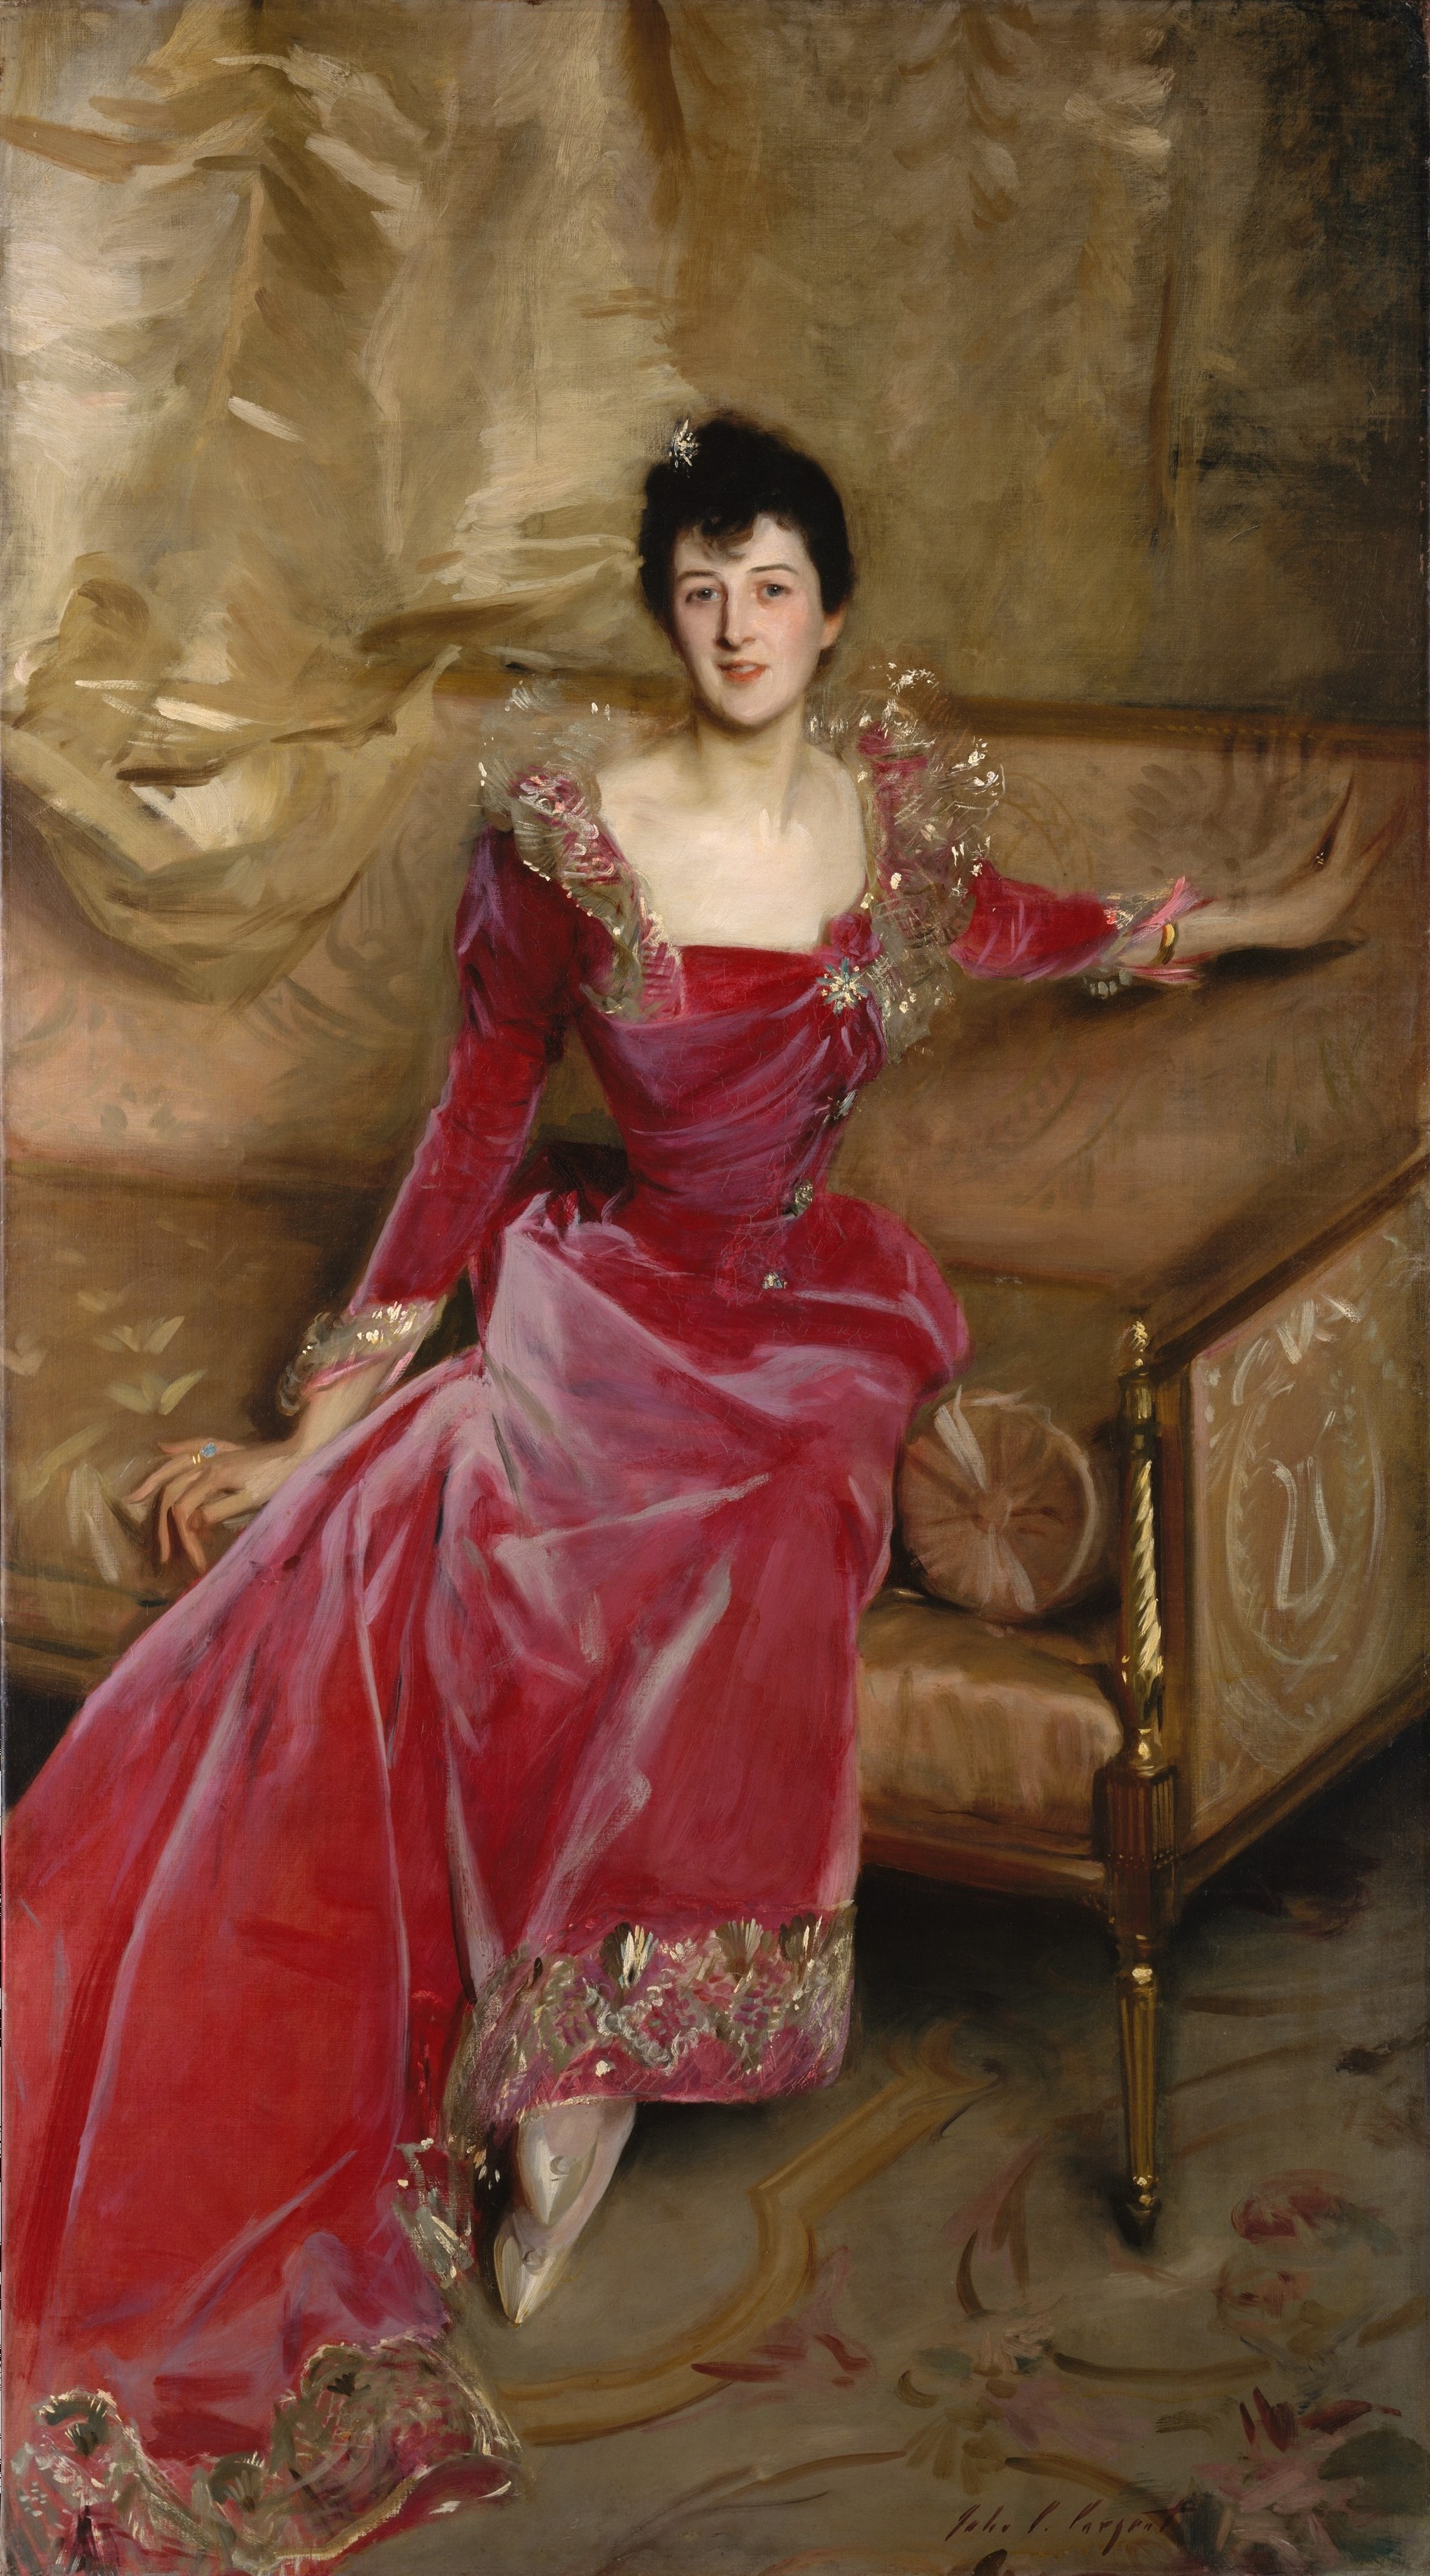
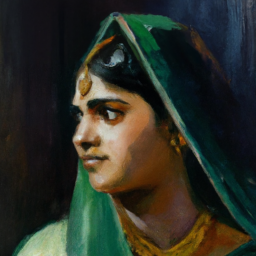
Most of his subjects were European or American although he occasionally depicted other nationalities. Let us see if DALL-E can give us an idea of how he might have painted an Indian woman of that period.
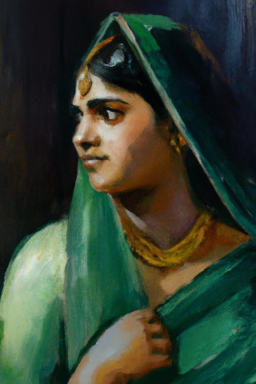
prompt = "Portrait of an Indian lady in a green sari, in the style of John Singer Sargent, oil on canvas"
results = openai.Image.create(
    prompt=prompt,
    n=9,
    size='256x256'
)
The API call returns a list of image urls from which we need to download the images. Let us a write a function to do that.
def get_image(image_url):

    # Send a GET request to the URL and store the response
    response = requests.get(image_url)

    # Check if the request was successful
    if response.status_code == 200:
        # Write the image content to a buffer
        image_buffer = BytesIO(response.content)
        return Image.open(image_buffer)
    else:
        raise ValueError(f'Image could not be retrieved from {image_url}')
Fetch the images and display them as a montage
# url for image_i is in result['data'][i]
images = [get_image(data['url']) for data in results['data']]
m = montage([np.array(img) for img in images], padding_width=5, channel_axis=-1)
Image.fromarray(m)
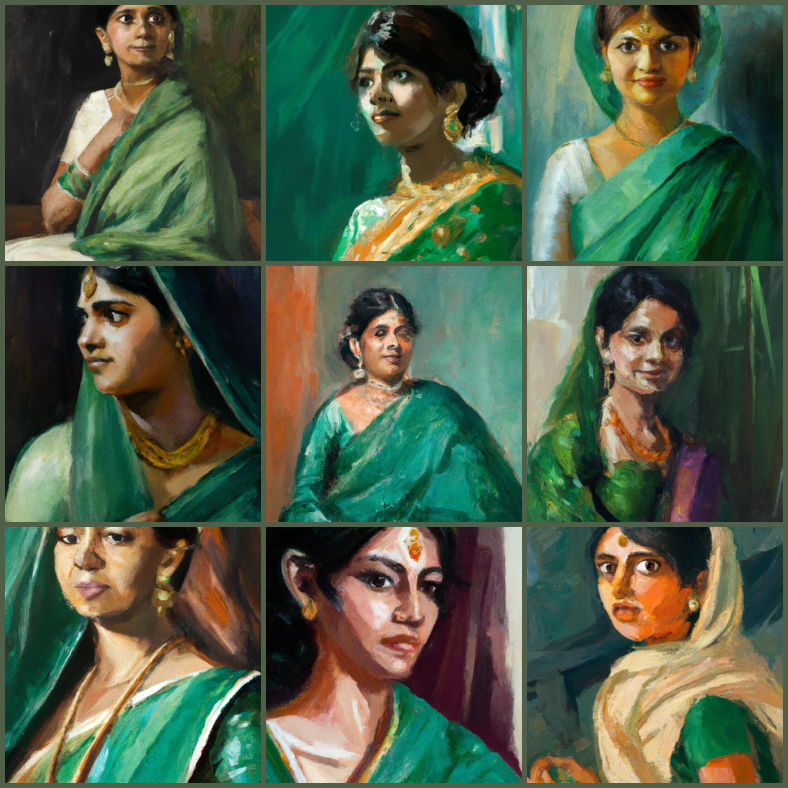
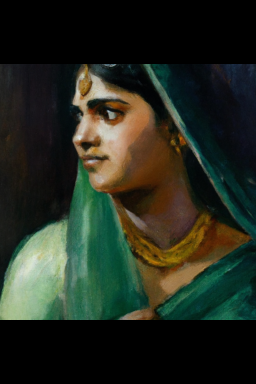
Many of these look like cropped sections from a full length portrait, as indeed the training data would have been. But we can generate a larger, rectangular image using sliding windows. The initial image is regarded as a section of a larger image and used as context to generate the rest of the image. As a simple example let us extend the image at top and bottom.
First add padding to the top and bottom.
img_id = 3
h, w, f = img.shape
rectangle = np.zeros([int(h * 1.5), w, f], dtype='uint8')
start = h//4
rectangle[start:start + h] = np.array(images[img_id])
Image.fromarray(rectangle)
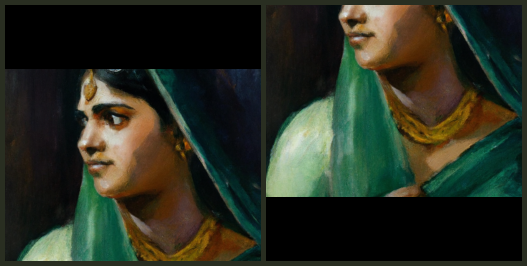
We will now use the edits endpoint to fill in the blank regions. First let us split the image into two squares.
top = rectangle[:h]
bottom = rectangle[-h:]

Image.fromarray(montage([top, bottom], padding_width=5, grid_shape=(1, 2), channel_axis=-1))
To use the edits endpoint you need to indicate which regions of the input should be modified. There are two ways to do this:
- Providing a
maskinput:
An additional image whose fully transparent areas (e.g. where alpha is zero) indicate where image should be edited. Must be a valid PNG file, less than 4MB, and have the same dimensions as image.
- Adding a transparency channel to
image:
If mask is not provided, image must have transparency, which will be used as the mask.
You also need to provide a prompt. The prompt should describe the full image not only the section you want to modify.
Let us create masks for each section. The masks are in the RGBA format.
# Top part is all zeros
mask_top = np.concatenate([np.zeros([h//4, w, f+1]),
                           255*np.ones([h-h//4, w, f+1])]).astype('uint8')
# Bottom part is all zeros
mask_bottom = mask_top[::-1]
For the first image we will provide a separate mask. We need to write the mask and image to buffers. The prompt will be the same as for the original image.
top_buffer = BytesIO()
mask_buffer = BytesIO()

Image.fromarray(top).save(top_buffer, 'png')
Image.fromarray(mask_top).save(mask_buffer, 'png')
edit_top = openai.Image.create_edit(
    image=top_buffer.getvalue(),
    mask=mask_buffer.getvalue(),
    prompt=prompt,
    n=1,
    size='256x256'
)
image_top = get_image(edit_top['data'][0]['url'])
image_top
For the bottom part, let’s add a transparency channel to the image in place of a separate mask.
bottom_buffer = BytesIO()
Image.fromarray(np.concatenate([bottom, mask_bottom[..., -1:]], -1)).save(bottom_buffer, 'png')

edit_bottom = openai.Image.create_edit(
    image=bottom_buffer.getvalue(),
    prompt=prompt,
    n=1,
    size='256x256'
)
image_bottom = get_image(edit_bottom['data'][0]['url'])
image_bottom
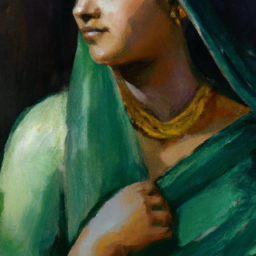
img_final = Image.new('RGB', (w, rectangle.shape[0]))
img_final.paste(image_top, (0, 0))
img_final.paste(image_bottom, (0, h//2))
img_final
That looks a lot better. You could of course keep on extending the image in all directions. But let us now create a landscape image.
Landscapes
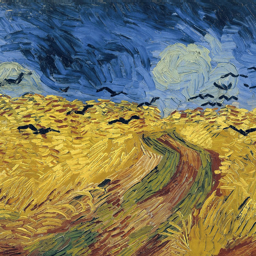
Now we will try using the variations endpoint to create landscape inspired by Van Gogh’s Wheatfield with Crows. This was painted on a double-square canvas so the width is approximately twice the height.
wheatfield = Image.open(
    BytesIO(
        requests.get(
            'https://upload.wikimedia.org/wikipedia/commons/thumb/d/d3/Vincent_Van_Gogh_-_Wheatfield_with_Crows.jpg/2560px-Vincent_Van_Gogh_-_Wheatfield_with_Crows.jpg'
        ).content
    )
)
wheatfield
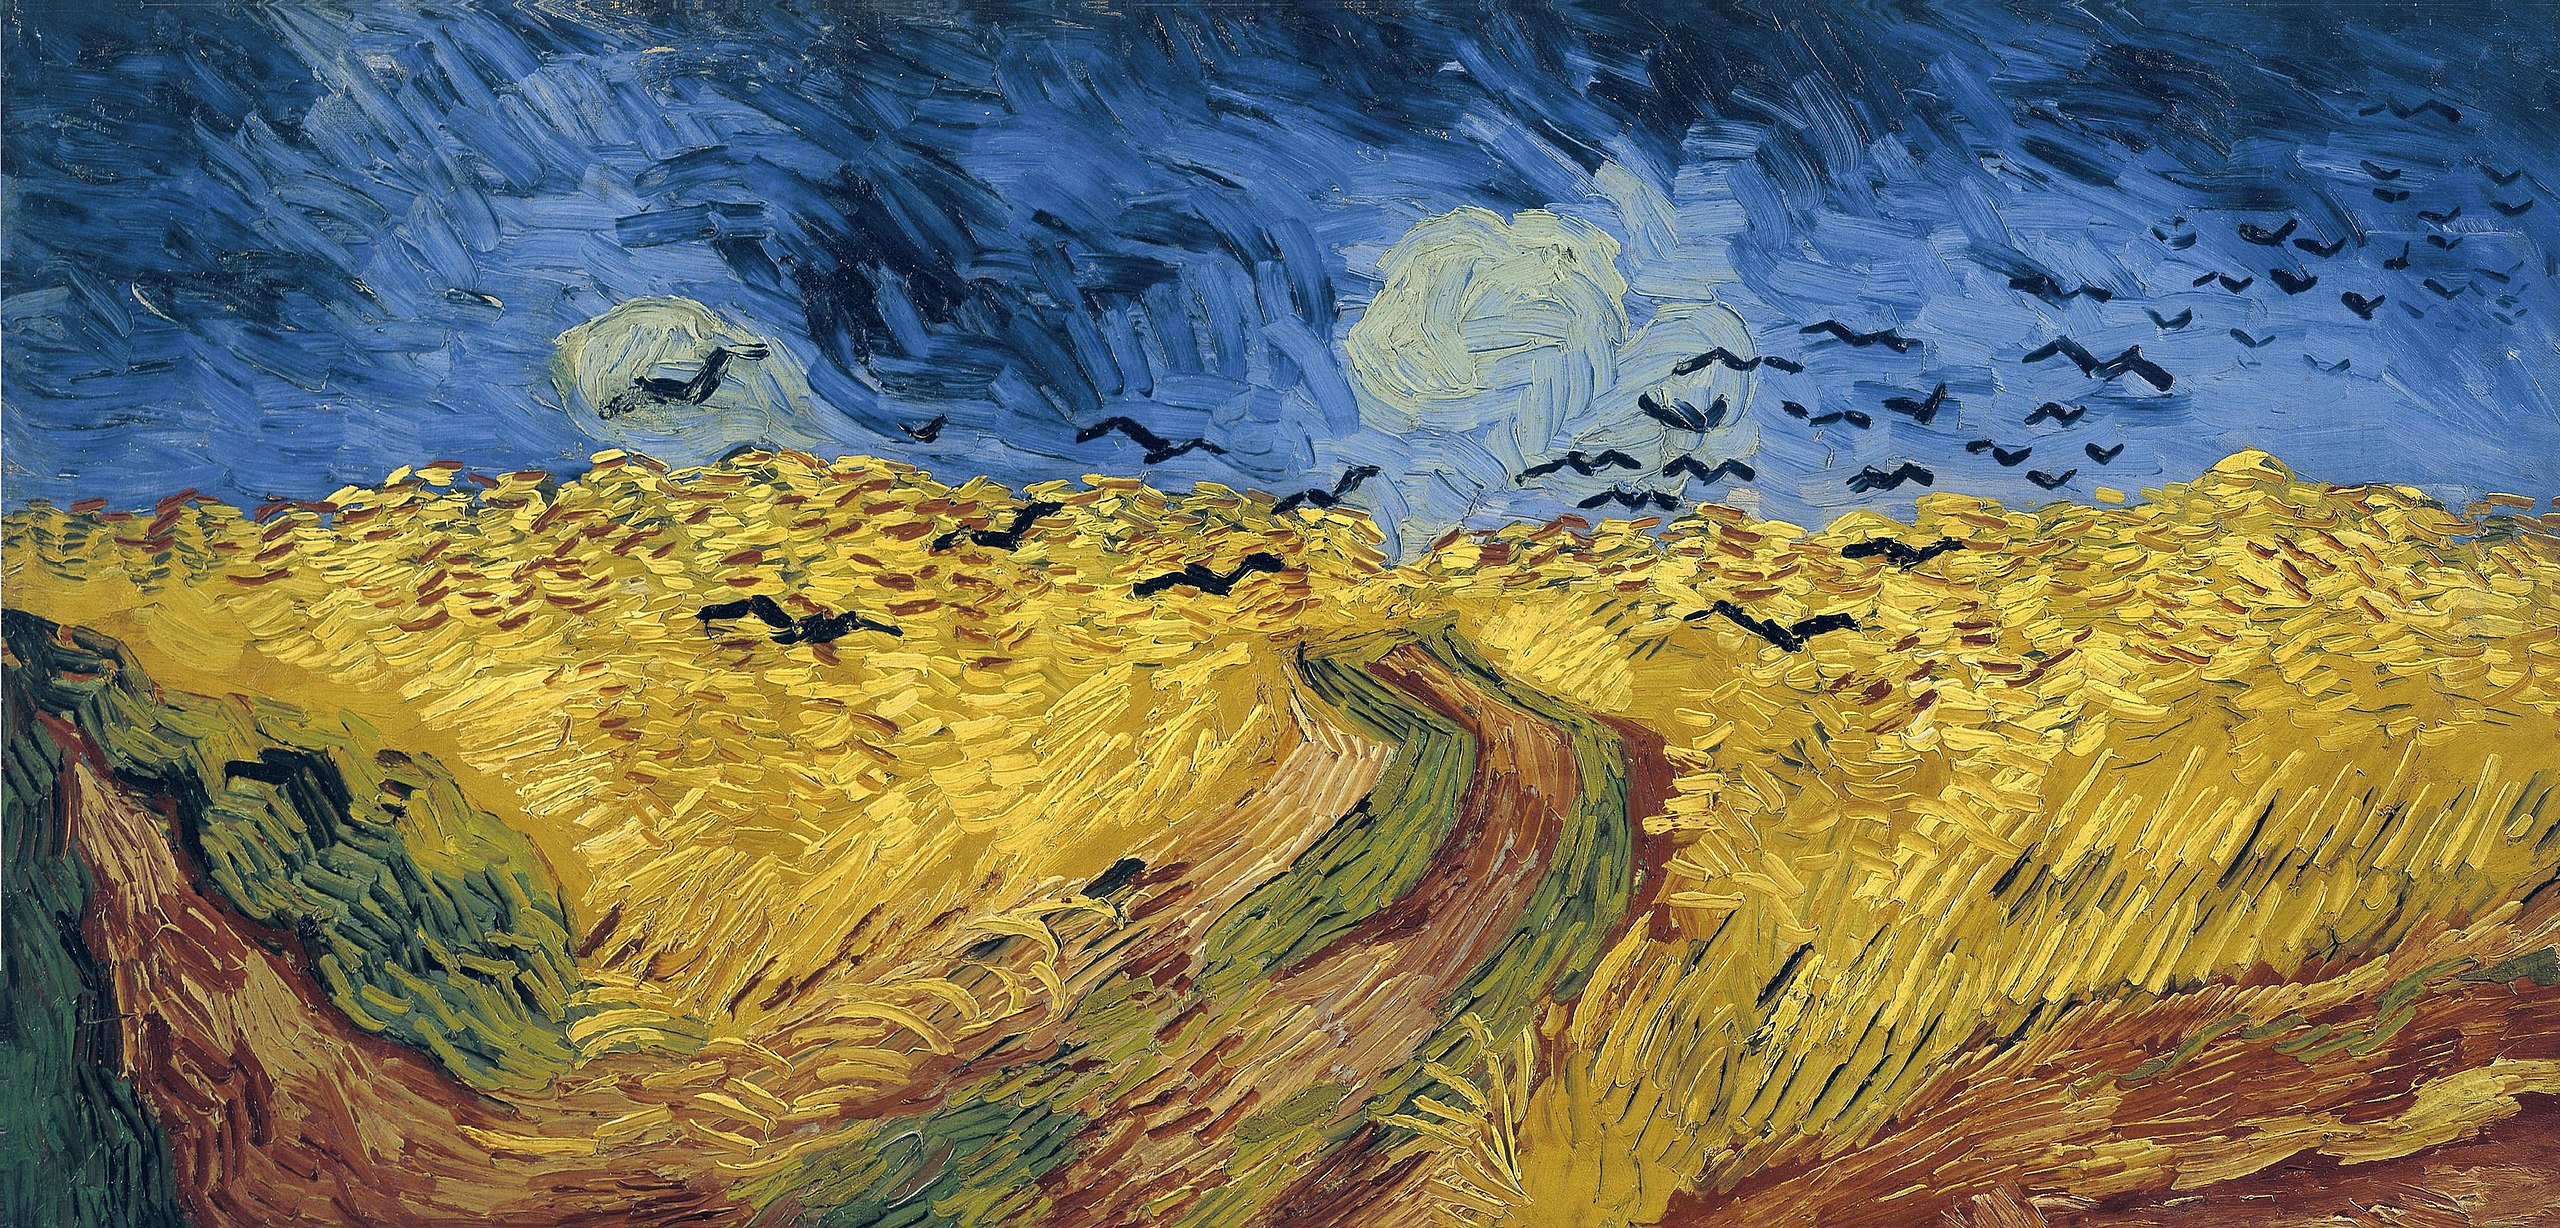
Not that the width is a little over twice the height.
img_w, img_h = wheatfield.size
img_w, img_h
(2560, 1228)
The image variations are conditioned only on an image and don’t make use of a prompt. To create a “double-square” landscape we will
- Generate a variation based on a crop from the image
- Extend it to generate a landscape
First crop a square section from the left and resize to 256x256.
left =  img_h // 2
img_centre = wheatfield.crop((left, 0, left + img_h, img_h))
assert set(img_centre.size) == {img_h}

img_centre = img_centre.resize((256, 256))
img_centre
Now generate a bunch of variations.
img_centre_buffer = BytesIO()
img_centre.save(img_centre_buffer, 'png')


variations = openai.Image.create_variation(
    image=img_centre_buffer.getvalue(),
    n=9,
    size='256x256'
)
images_var = [get_image(data['url']) for data in variations['data']]
m_var = montage([np.array(img) for img in images_var], padding_width=5, channel_axis=-1)
Image.fromarray(m_var)

The prompt is inspired by the description of the painting in the Wikipedia entry. According to the DALL-E Prompt Book adding descriptors like “acclaimed” can sometimes help generate higher quality images. Let’s also make it clear that we would like the result to be a “masterpiece”.
prompt_var = 'A dramatic, cloudy sky filled with crows over a wheat field in the style of Van Gogh, oil on canvas, acclaimed, masterpiece'
A helper function to mask the image at the appropriate region.
def get_masked_image(img, pad):
    alpha = 255 * np.ones_like(img[..., -1:])
    img = np.concatenate([img, alpha], -1)
    img = np.pad(img, pad)
    return img
To fill in the left part we do the same as before.
var_id = 5
var = np.array(images_var[var_id])
hh, ww, f = var.shape
start_idx = hh // 2
img_left = get_masked_image(var[:, :start_idx], [(0, 0), (start_idx, 0), (0, 0)])
Image.fromarray(img_left)
Another helper function to get image bytes
def get_img_bytes(img, img_type='png'):
    bfr = BytesIO()
    if isinstance(img, np.ndarray):
        img = Image.fromarray(img)
    img.save(bfr, img_type)
    return bfr.getvalue()
edit_left = openai.Image.create_edit(
    image=get_img_bytes(img_left),
    prompt=prompt_var,
    n=1,
    size='256x256'
)
img_edit_left = get_image(edit_left['data'][0]['url'])
img_edit_left
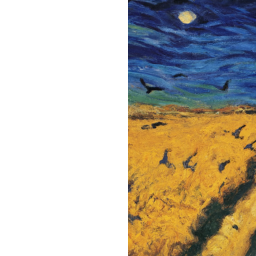
Generate the right side is a bit more involved because we need to pass the sliding window across several times, using the output from the previous stage as input.
landscape = np.zeros([hh, hh*2, 3], dtype='uint8')
landscape[:, :ww] = np.array(img_edit_left)
inputs = []
start_idx = hh//2
while True:
inp = get_masked_image(landscape[:, start_idx:start_idx + ww-hh//2],
[(0, 0), (0, hh//2), (0, 0)])
inputs.append(inp)
edit_right = openai.Image.create_edit(
image= get_img_bytes(inp),
prompt=prompt_var,
n=1,
size='256x256'
)
landscape[:, start_idx:start_idx + ww] = np.array(get_image(edit_right['data'][0]['url']))
if start_idx == (landscape.shape[1] - ww):
break
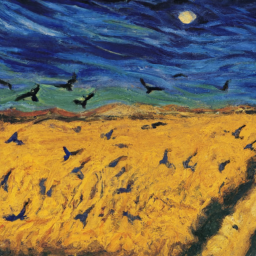
start_idx += hh//2
Image.fromarray(landscape)
