Contents
- Introduction
- Setup instance
- Install Python
- Install libraries to run the example
- Setup for training
- Run the example
- Using tmux to run the example in the background
- Inference
- Next steps
Introduction
In this blog I outline the steps I took in setting up an AWS EC2 instance to run the Hugging Face Diffusers Textual Inversion tutorial. Note that this is not a tutorial about Textual Inversion or Diffusion models. Instead it extends the official tutorial by providing the steps I took to setup an EC2 instance, install the code and run the example.
From the Hugging Face tutorial
Textual Inversion is a training technique for personalizing image generation models with just a few example images of what you want it to learn. This technique works by learning and updating the text embeddings (the new embeddings are tied to a special word you must use in the prompt) to match the example images you provide.
The repo has a link to run on Colab but I wanted the convenience of running it on an EC2 instance. The process I follows is admittedly hacky and by no means the best or most efficient way to do it but it was quick and it worked. The idea behind this blogpost is that if you can get it running without too much frustration then you will be motivated to take your learning further and explore the topic in more depth and do things in a more robust way.
The code in this blog is for PyTorch version of the example but there is also a Jax version for which I refer you to the tutorial. You could also probably use a similar process to run any other examples in Diffusers
I think I have given all the commands that I ran but I may have missed some so let me know if something does not work.
Setup instance
These are the key details of my AWS EC2 instance (values in square brackets are options to choose or input)
Instance type [g4dn.xlarge]

1 x [140] GiB [gp2] Root volume (Not encrypted)
1 x [100] GiB [gp2] EBS volume (Not encrypted)
I used the Deep Learning AMI (Ubuntu 18.04) Version 64.2 (ami-04d05f63d9566224b).
I also used an existing security group that I had set up previously with an inbound rule with Type All traffic.
I added the following to my ~/.ssh/config file on my local machine
Host fusion
   AddKeysToAgent yes
   HostName <YOUR_INSTANCE_IP_ADDRESS of the form ec2-xx-xxx-xxx-xxx.eu-west-1.compute.amazonaws.com>
   IdentityFile <LOCATION_OF_YOUR_PRIVATE_KEY>
   User ubuntu
   LocalForward localhost:8892 localhost:8892
   LocalForward localhost:6014 localhost:6014
I added port forwarding for jupyter (8892) and tensorboard (6014) so that I could access them from my local machine. Then I could run the following to connect to the instance
ssh fusion
Install Python
The instructions here state that Diffusers has been tested using Python 3.8+.
The instance had Python 3.6 and the installation of the libraries failed so here is what I did to install Python 3.8
sudo apt-get install software-properties-common
sudo add-apt-repository ppa:deadsnakes/ppa
sudo apt-get update
sudo apt-get install python3.8
While doing this, I encountered the following error
E: Could not get lock /var/lib/dpkg/lock-frontend - open (11: Resource temporarily unavailable)
E: Unable to acquire the dpkg frontend lock (/var/lib/dpkg/lock-frontend), is another process using it?
I attempted to rectify this by running the following commands. I can’t recall where I found this solution but some similar solutions are suggested here and here.
sudo rm /var/lib/dpkg/lock-frontend
sudo dpkg --configure -a
The issue did not resolve and I had to reboot the instance and then run the commands again and then the installation worked.
To install pip I ran the following commands
curl https://bootstrap.pypa.io/get-pip.py -o get-pip.py
python3.8 get-pip.py
To use create virtual environments with venv I needed to install python3.8-venv
sudo apt install python3.8-venv
Finally I set up a virtual environment in my home directory called fusion with the following command
python3.8 -m venv fusion
Install libraries to run the example
Now I was in a position to following the installation instructions in the tutorial.
First I activated the virtual environment
source ~/fusion/bin/activate
Unless otherwise specified, all the python commands in this article are intended to be run from within the virtual environment.
Then I installed the libraries
git clone https://github.com/huggingface/diffusers
cd diffusers
pip install .
I got the following error
FileNotFoundError: [errno 2] no such file or directory: '/tmp/pip-build-ioswilqu/safetensors/setup.py'
According to this StackOverflow post the solution is to run the following command
pip3 install --upgrade pip
Then re-run the installation command to complete the installation.
The next step is to install the dependencies for the example after navigating to the examples/textual_inversion.
cd examples/textual_inversion
pip install -r requirements.txt
Setup for training
Accelerate is a library from Hugging Face that helps train on multiple GPUs/TPUs or with mixed-precision. It automatically configures the training setup based on your hardware and environment. You can initialise it with a custom configuration, or use the default configuration.
For the custom configuration, the command is
accelerate config
I used the default configuration
accelerate config default
After you run the command it will tell you where the configuration file is located. For me it was /home/ubuntu/.cache/huggingface/accelerate/default_config.yaml. Ensure that use_cpu is set to false to enable GPU training. Here is what my configuration file looked like
{
  "compute_environment": "LOCAL_MACHINE",
  "debug": false,
  "distributed_type": "NO",
  "downcast_bf16": false,
  "machine_rank": 0,
  "main_training_function": "main",
  "mixed_precision": "no",
  "num_machines": 1,
  "num_processes": 1,
  "rdzv_backend": "static",
  "same_network": false,
  "tpu_use_cluster": false,
  "tpu_use_sudo": false,
  "use_cpu": false
}
Then I created a new file in examples/textual_inversion called run.py and added the following code from the tutorial to download the mini dataset for the example
from huggingface_hub import snapshot_download

local_dir = "./cat"
snapshot_download(
    "diffusers/cat_toy_example", local_dir=local_dir, repo_type="dataset", ignore_patterns=".gitattributes"
)
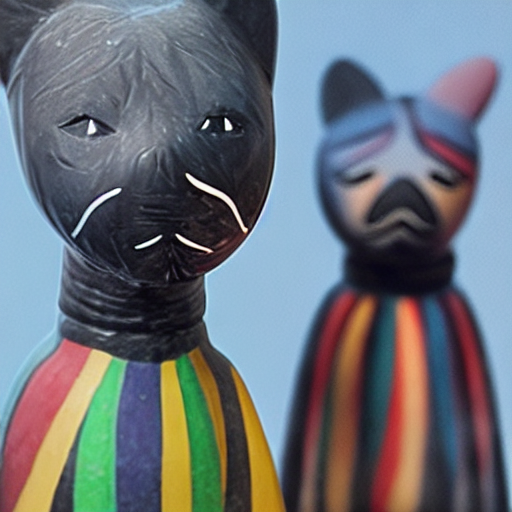
Now call the run.py file to download the dataset
python3 run.py
The dataset is very small, containing only six images of cat toys, as shown below

Run the example
Next I created another file run.sh in examples/textual_inversion and added the following code from the tutorial making only the change of leaving out the
--push_to_hub flag as I did not want to push the model to the Hugging Face Hub
export MODEL_NAME="runwayml/stable-diffusion-v1-5"
export DATA_DIR="./cat"

accelerate launch textual_inversion.py \
  --pretrained_model_name_or_path=$MODEL_NAME \
  --train_data_dir=$DATA_DIR \
  --learnable_property="object" \
  --placeholder_token="<cat-toy>" \
  --initializer_token="toy" \
  --resolution=512 \
  --train_batch_size=1 \
  --gradient_accumulation_steps=4 \
  --max_train_steps=3000 \
  --learning_rate=5.0e-04 \
  --scale_lr \
  --lr_scheduler="constant" \
  --lr_warmup_steps=0 \
  --output_dir="textual_inversion_cat"
Note that in textual_inversion.py the special word used for textual inversion is input via flag placeholder_token which in the example is, unsurprisingly, <cat-toy>.
Then I tried to run the example
sh run.sh
but I kept getting this warning
UserWarning: CUDA initialization: The NVIDIA driver on your system is too old
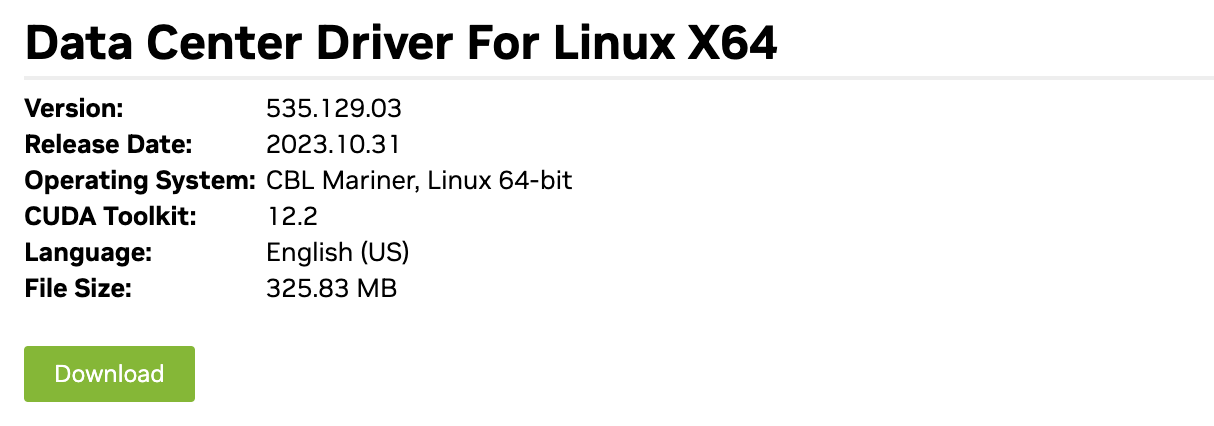
The rest of the warning also suggested downloading a newer driver from here. I went to the page on my local machine and selected the following options
Product Type: Data Center / Tesla
Product Series: T-Series
Product: Tesla T4
Operating System: Linux 64-bit
CUDA Toolkit: 12.2
Language: English (US)

I clicked “Download” in the next page
and then right-clicked on the “Agree & Download” button on the subsequent page and copied the link address
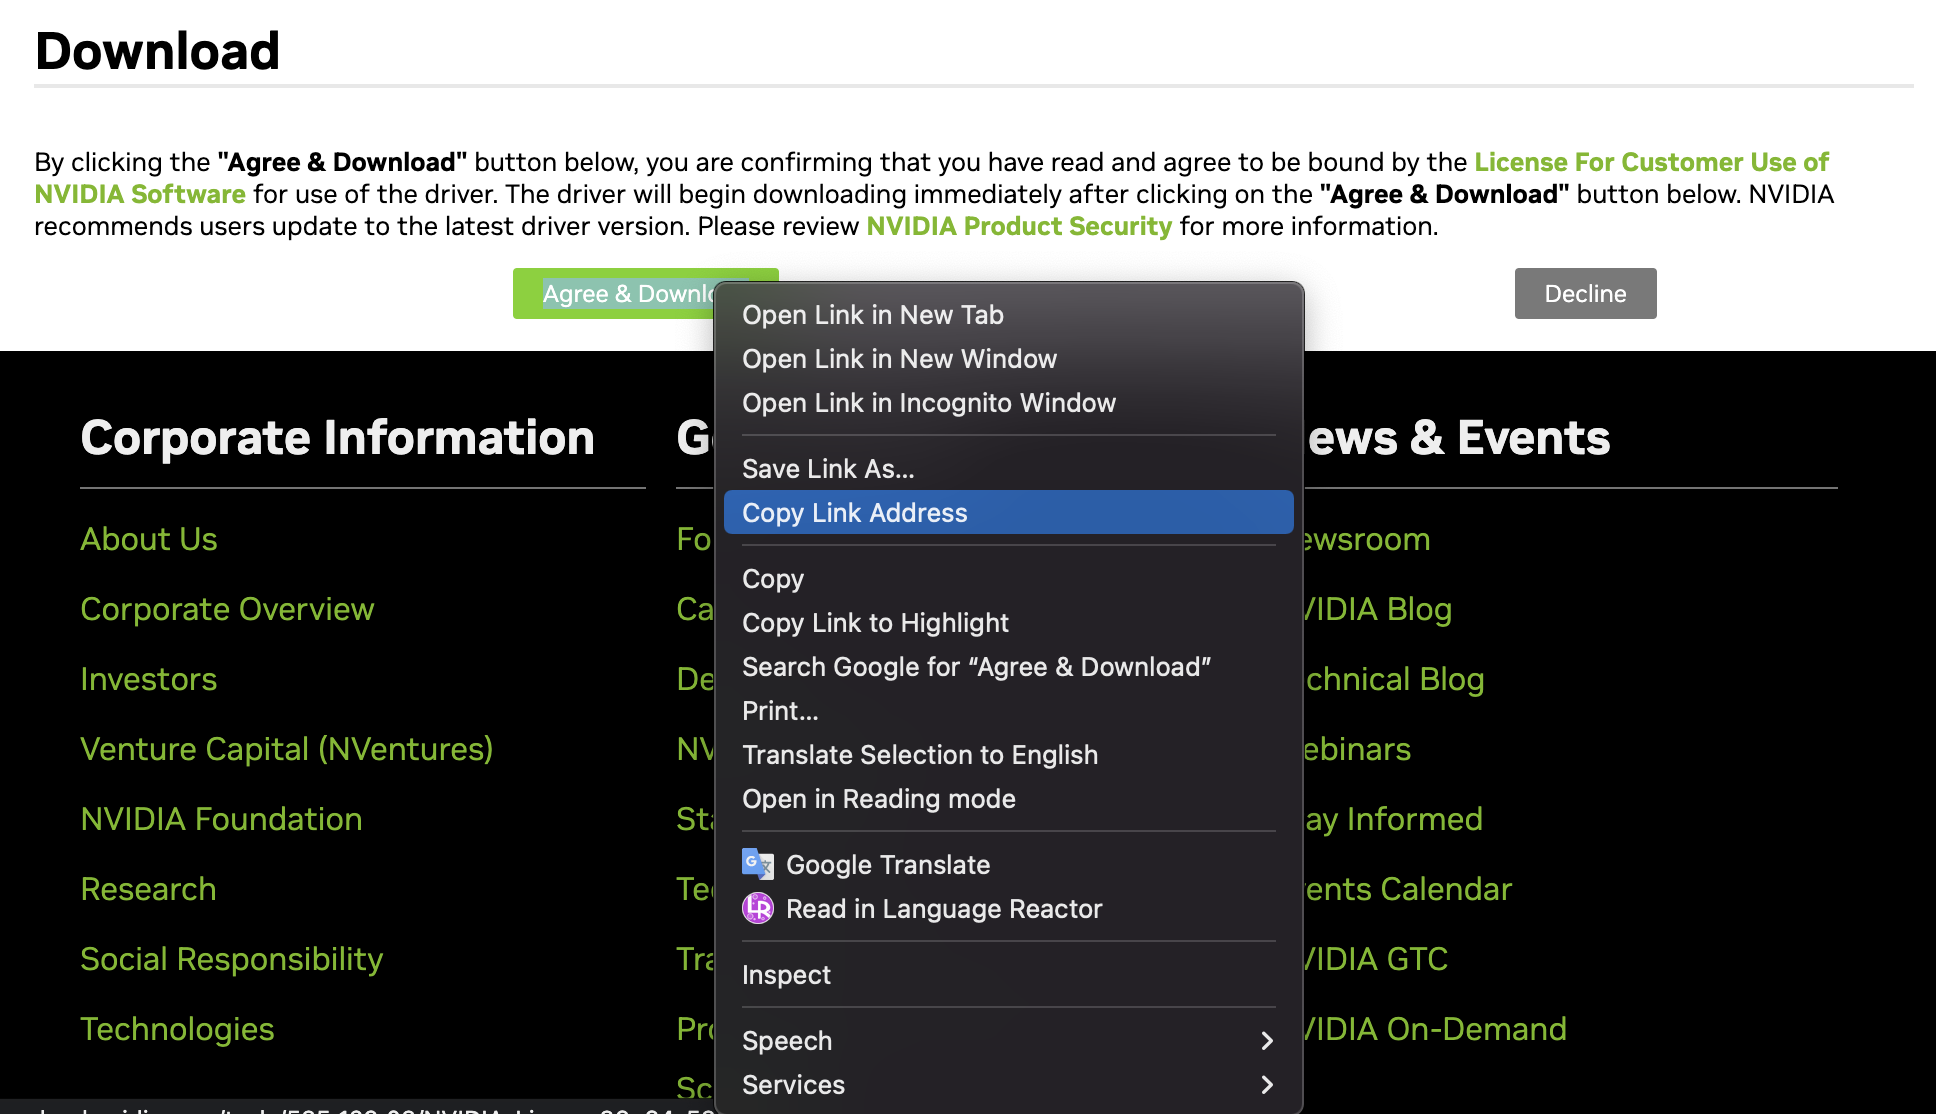
Back in the instance I downloaded the driver using the link
wget https://us.download.nvidia.com/tesla/535.129.03/NVIDIA-Linux-x86_64-535.129.03.run
Then I installed the driver
sudo sh NVIDIA-Linux-x86_64-535.129.03.run
and went through the installation process accepting the default options.
Following the installation, the warning message disappeared and I was able to run the example. The example took about a couple of hours to run I think although I left it running and did not monitor the time exactly. It saves tensorboard logs which can be viewed as follows
tensorboard --logdir textual_inversion_cat --port <YOUR_PORT>
You can now view this on the browswer on whichever port you have forwarded to the instance. For me it was localhost:6014.
Note that I needed to install six to get this to work
pip install six
Note that checkpoints and weights are saved in the textual_inversion_cat directory in the examples/textual_inversion folder. If you want to redo the training for any reason, delete this directory.
Using tmux to run the example in the background
So that I could disconnect from the instance and the process would continue running, I ran it on tmux. To do so run
tmux new -s <YOUR_SESSION_NAME>
Then run the example, making sure the virtual environment is activated and you are in the examples/textual_inversion directory. To leave the tmux session press Ctrl+b and then d. To reattach to the session run. To reattach to the session run
tmux attach -t <YOUR_SESSION_NAME>
To delete the session either run exit within the session or from outside the session run
tmux kill-session -t <YOUR_SESSION_NAME>
Inference
The tutorial provides an inference script which I have slightly modified to run in a Jupyter notebook.
First I needed to install jupyterlab and to register the virtual environment with jupyter
pip install jupyterlab
python -m ipykernel install --user --name=fusion
Then I created a notebook in inference.ipynb in examples/textual_inversion and ran a cell with this code to setup the model
from diffusers import StableDiffusionPipeline
import torch

pipeline = StableDiffusionPipeline.from_pretrained("runwayml/stable-diffusion-v1-5", torch_dtype=torch.float16).to("cuda")
pipeline.load_textual_inversion("sd-concepts-library/cat-toy")
Now you can generate an image, noting that the placeholder_token <cat-toy> must be present in the prompt
image = pipeline("A <cat-toy> train", num_inference_steps=50).images[0]
Since image is a PIL image, you can view in the notebook by simply running
image
Next steps
Here are some ideas for what to do next
- Learn more about Diffusion models and Textual Inversion
- Use different prompts to generate more images
- Train the model with different settings
- Customise the example to train on your own data
- Run Jax version of the example
- Try out other examples in Diffusers library